View the backupX project on Github.
General Update (Sept 2021): I’ve now been using this for nearly 3 years, and still use it with the Pi Zero W. After having the hole drilled out in the black case for the red led, I wanted a hole for the green, power led as well to know the power is on and it’s booting. I also filled the led holes with epoxy to better broadcast the light through the holes and it looks & works great. I also finally had a catastrophic SD Card failure where this saved the day while traveling. The initial sign was the post shot preview image was black and I couldn’t review any photos on the camera anymore. Thankfully it happened early in the day so not much was lost.
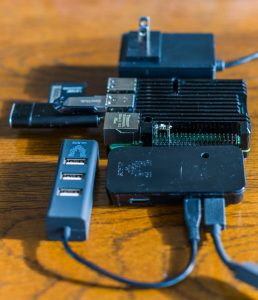
Raspberry Pi 4 Update: I’ve added support for the Raspberry Pi 4 to backupX. While it is not as compact, a little heavier, and requires a dedicated power supply, it is 4x faster at an average 1GB/minute real copy time. The Pi 4 finally feels like a real, usable computing option. If you need the faster transfer speeds, and want to use the Pi 4 as an ultra-portable computer, by all means get that. If you are looking to minimize size and weight in a backup solution, and can manage with the slower transfer speeds, the Pi Zero W is definitely the way to go.
I’ve long been afraid that on a multi-week trip that something is going to happen to the SD card in my camera, either that it will just corrupt completely or if my camera is stolen that all the photos will be lost. I’ve looked at the available solutions on the market, and they are super bulky, heavy, expensive, and try to solve too many problems – the most popular one is the Western Digital My Passport.
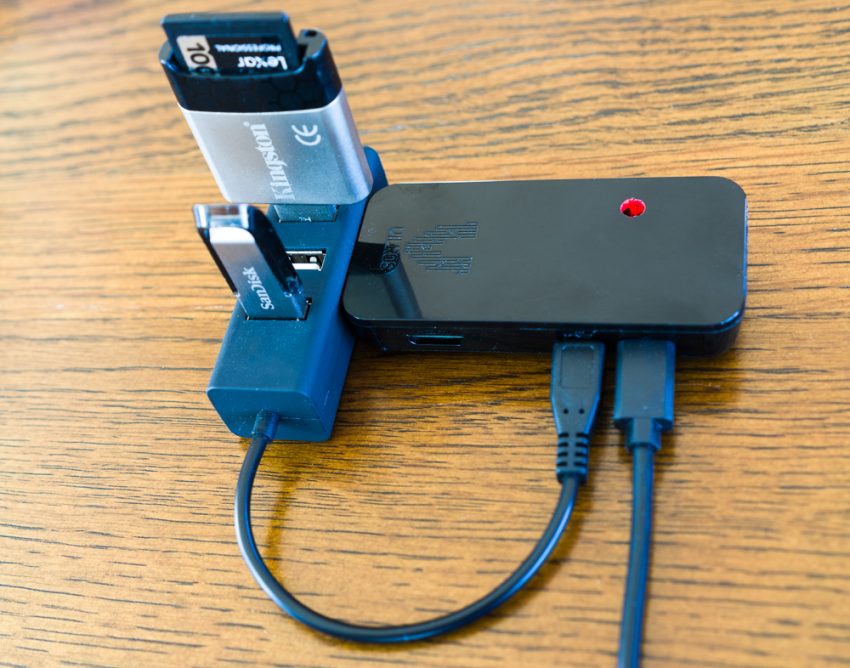
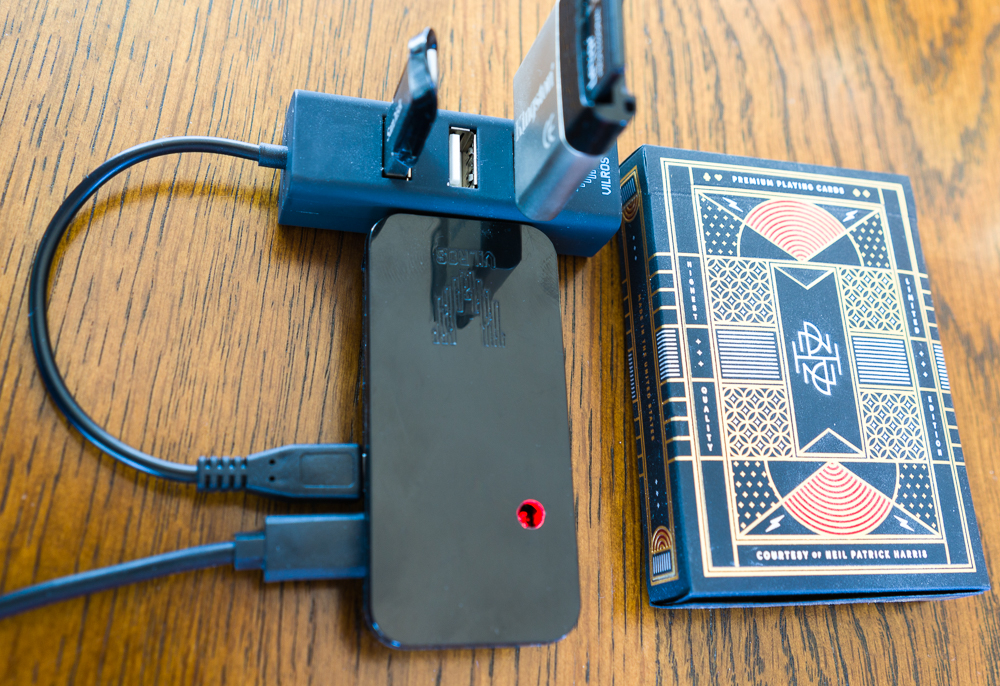
I decided to create a Raspberry Pi based solution that will be small, lightweight, ultra-portable, and mostly, really affordable, and I called it backupX. The Vilros Raspberry Pi Kit comes with everything you need including the hub, and best of all is only $35 and is about the same size as a pack of cards. The only addition I made to the Pi is an Adafruit LED Sequin. as an activity indicator.
The way it works is you label your backup drive with “backupX” so the project knows where to backup the files. You plug in a USB cable to power the Raspberry Pi and let it boot. At any point you can plug the backup drive and the SD card into the USB hub. When the Pi detects both source and destination it will start copying and the red LED will start flashing. When it is done backing up the contents of the SD card, the Raspberry Pi will shut down. Easy as that.
Since one of the points is to guard your photos against theft, loss or damage to the camera while you travel, I keep the backup drive and the backupX system separate from my camera gear. It stays in the hotel room while we’re out, and it goes in my roller bag on the plane while my camera gear is always in the photography bag.
Head on over to the project page on Github for more details and learn how to set it up.
This is great stuff, Mike.
I have set it up this evening and it is working perfectly.
Thanks for sharing!
Awesome! Glad to hear that!
Hello Mikey.
I have a question as I am really linking your project.
Are the copies incremental? So if I insert one SD card, and then a second one. The files don’t get overwritten?
I’m an currently trying with a full SD 128gb SD card. I don’t have another one handy to check what happens with a second card.
I initially tried little backup box, but it kept ejecting the SSD and disconnecting half way through the copy and then refused to mount the SSD again. Then I found your project and I thought that it sounds magnificent.
This is the kind of project that I have been looking for to backup the cards while driving, so I save time and when I get to the hotel I only have to spread the copies to the other backup drives (professional work).
Do you know if it would work with CF express cards as the ones found on the newer Sony a1 or Canon r5 cameras?
Cheers
Hey Will,
This uses rsync with options a, b, v for the backup, so yes it is an incremental backup. To avoid issues with space, I would recommend only backing up to the same size disk. So if your source card is 128GB, your backup card should also be 128GB. This recommendation is due to the fact that there is no possibility to communicate errors like running out of space.
If the Raspbian OS can natively read CF express cards, then this will work out of the box. I do not have CF express cards to test this. You can test it while you set up the project by plugging in your CF express card and seeing if it mounts to the desktop automatically. If it does not, please file an issue on the github project’s page.
Hello Mikey.
I’m using a 1tb hard drive for backup. The point of this is to have a master backup by the time i get to the hotel. On work days we shoot video and stills from about 3 or 4 cameras.
The problem we are having is that after we finish for the day, we have to drive for a few hours which means that we then have a lot of time ahead to complete the backups.
With your solution we can start backing up from the moment we finish shooting. And being mechless there’s no danger of HDD being damaged by the vibrations when driving.
I am going to see when I can get my hands on some of my colleague’s CF express cards and a reader.
The only issue I have found so far is that the raspberry pi 4 per supply isn’t enough to run a sata to USB enclosure with an SSD in it. It runs fine with a Samsung T5 1Tb drive. I think it can get resolved by using an active USB hub. I just ordered one.
Then I will have to do a custom box to put all the parts inside and a Nick converter to get the vehicle’s 12v to convert to 5v 3a for the pi and whatever voltage and current is needed for the active hub.
I will keep you posted.
Thank you for your great project. It will potentially save us a lot of man hours in backup when we do travelling shoots which is quite often.